Booking a glamping trip sounds simple until you start packing. You worry you’ll overpack like it’s a hotel stay, hauling suitcases you’ll never open, or underpack like it’s tent camping and forget something crucial, like a warm layer or a light for the walk to the bathroom after dark. The truth sits somewhere in between, and that’s exactly what this guide helps you figure out.
Below, you’ll find a practical breakdown of how glamping changes what you actually need, why you should check the season before anything else, and how to dress for day-to-night temperature swings. We’ll cover sleep and comfort essentials, a kitchen and cooking gear checklist, and the small stuff people forget most often. You’ll also learn why a 40-60 liter duffel is plenty for 3-4 days, and you’ll get a complete checklist ready to go before your next glamping trip.
How a Glamping Trip Changes What You Pack
Glamping sits somewhere between a hotel stay and a weekend in a tent, and that in-between position changes your packing math completely. You arrive to a real structure with a proper bed, and most sites provide power, lighting and often heating. That means the classic backpacking gear list stays at home: no sleeping pads, no camp stove, no tent repair kit. You are furnishing a cozy room, not surviving the wilderness.
Ask Before You Pack
The single biggest packing mistake is assuming what the site includes. Most glamping accommodations provide bedding, towels and basic kitchenware, but the details vary widely between a safari-style tent, a yurt and a cabin. Send a quick message or check the site’s listing before you build your checklist. Knowing whether there is a fridge, a shared kitchen or only a fire ring will shape what food and gear you bring, and it can save you from hauling items you will never touch.
Once you know what is provided, your job becomes filling the gaps: your own layers, sleep extras, toiletries and a few kitchen upgrades. That is a short list, which is exactly the point.
One Bag, Not a Carload
Here is the practical test of a good glamping checklist: everything fits in one 40-60 liter soft bag or duffel for a 3-4 day stay. Skip the hard-shell suitcase. Many sites involve gravel paths, grassy fields, stairs or even a ladder up to a treehouse platform, and a rolling suitcase becomes a genuine nuisance on that terrain. A soft bag with backpack straps or a sturdy handle is far easier to carry across a field in the rain.
If you find yourself needing a second bag, you are probably duplicating what the site already provides. Edit the list, not the luggage.
Booking Timing and Season-First Packing
When to Book Your Glamping Stay
Glamping sites are small, often with just a handful of units, so the best summer weekends sell out early. Book 2-3 months ahead for regular summer weekends, and about 6 months ahead for holiday periods. Expect peak-season rates of 150-400 USD per night, which is why locking in your dates early also helps you budget for the rest of the trip.
Once your booking is confirmed, let those dates drive your packing list. In most temperate regions, the main glamping season runs from May to October, and what you bring should shift depending on where your stay falls within that window.
Packing for Shoulder-Season Nights
If your trip lands in May, June or September, plan for shoulder-season conditions. Nights can drop below 10°C (50°F) even when the days feel mild, so pack warmer sleepwear and extra layers than you think you need. A mid-June afternoon might call for shorts and a t-shirt, but the same evening can leave you reaching for a fleece the moment the sun goes down.
Check the forecast for your specific site a few days before departure, since mountain and lakeside locations cool faster than the regional average. Building in a little flexibility, such as an extra warm layer in your bag, costs almost nothing and makes shoulder-season nights far more comfortable.
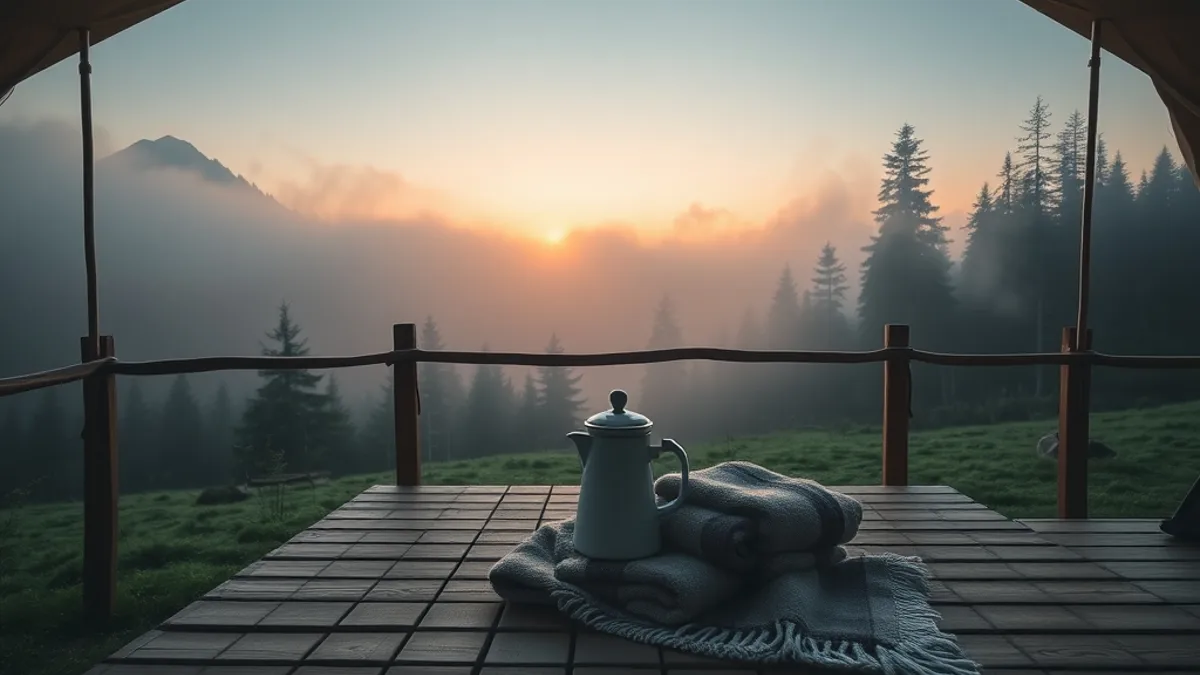
Clothing Layers for Day-to-Night Temperature Swings
Glamping sites rarely have central heating, and canvas structures lose warmth fast once the sun goes down. The fix is a simple three-layer clothing system you can add to or shed as conditions change: a breathable base layer against your skin, an insulating mid-layer fleece, and a waterproof shell jacket for sudden rain. This setup weighs less than one bulky coat and handles everything from a damp morning hike to a chilly evening on the deck.
Shoes are where most people overpack. Two pairs are plenty: one broken-in pair of waterproof shoes for trails and wet grass, and one pair of sandals or slip-ons for the tent and deck areas. Waterproof shoes matter more than heavy boots at most sites, since paths can stay muddy long after the rain stops. Break them in at home first — blisters on day one will sour the whole trip.
Fabric choice matters as much as quantity. Quick-dry synthetics and merino blends beat cotton in every glamping scenario, because cotton stays damp and cold once you sweat or get caught in a shower. Pack pieces that mix and match, so a few tops and bottoms can cover your whole stay without a laundry run.
- Wool socks: bring at least three pairs so a wet pair can dry by the tent door while you wear a fresh one.
- Beanie and light scarf: evenings near water or in forest clearings cool quickly, even in midsummer, and these two items weigh almost nothing.
- Warm sleep layer: a flannel shirt or hoodie for cold nights, which are common in shoulder season — the same reason many travelers also pack a hot-water bottle and a sleep liner.
- Deck-friendly layers: a zip fleece you can open for stargazing works better than a pullover, especially if you plan to spend evenings on an open-air terrace like the one described in this rooftop ocean penthouse deck.
Sleep and Comfort Essentials Inside the Tent
The most common packing mistake glampers make is hauling full bedding for a bed that already has it. Most sites supply sheets, duvets and towels, so your job is simply to fine-tune the comfort level. If you tend to run cold, a silk or fleece sleep liner adds real warmth without bulk, and your own pillowcase makes any provided pillow feel more familiar.
Canvas structures are wonderful, but they let in light and sound in ways a hotel room never will. Sunrise comes through the fabric early, and birdsong near water or forest can start before dawn. A soft eye mask and a pair of foam earplugs weigh almost nothing and can rescue your sleep on that first early morning.
Think about the hours you spend outside the bed, too. Evenings on the deck or in a shared lounge area get chilly fast, and a folded wool throw turns any chair into a reading spot. A hot-water bottle is another low-tech win for cooler shoulder-season nights — most hosts are happy to fill it from the kitchen.
- Sleep liner: silk packs down to the size of a fist, while fleece is warmer but bulkier — choose based on how much space is left in your bag.
- Eye mask: pick one with a contoured cut over the eyes so it stays comfortable even if you sleep on your side.
- Headlamp: look for a model with roughly 30-50 hours of battery life on low mode, which covers a multi-night trip without spares.
- Backup light: a tiny clip-on or keychain light is enough for walking the path to the washrooms after dark, and it doubles as a reading light that won’t wake your partner.
Kitchen, Food and Cooking Gear Checklist
Most glamping sites supply basic kitchenware — plates, pots, pans and utensils — but what exactly shows up varies a lot. Some yurts come with a full camp kitchen, while a safari tent might offer little more than a two-burner stove and a few mismatched mugs. Email the site before you pack and ask what the kitchen includes, then fill the gaps rather than duplicating everything.
In practice, your additions are usually small: a genuinely sharp knife (camp kitchen knives are often dull), a small cutting board and a compact spice kit with the three or four seasonings you actually use. That trio turns basic ingredients into meals you’ll look forward to after a day outside.
If your site has no refrigerator, plan around a cooler bag packed with ice packs, sized to hold 3-4 days of food. Choose foods that tolerate a bit of warmth — hard cheeses, cured meats, root vegetables, tortillas and eggs — and freeze anything you can the night before so it doubles as an ice source on day one.
Wildlife-proof food storage is your responsibility at most sites, even at upscale ones. Raccoons, squirrels and sometimes bears can smell a cooler from far away. Pack sealable containers and sturdy trash bags, and never leave food or wrappers on the deck overnight. Ask the host where food should be stored and follow their instructions exactly.
- Coffee setup: a French press or pour-over kit plus pre-ground beans in a jar — many sites have kettles or stoves, but rarely anything to brew with.
- Enamel mugs: lighter and more durable than ceramic, and they make deck-side mornings feel properly outdoorsy.
- Reusable water bottle: one per person, ideally insulated, since refill points may be a walk from your tent.
- Biodegradable dish soap and a sponge: often missing from provided kits, and you’ll need them after your first meal.
- A tin of matches or a lighter: for lighting the stove or fire pit, since these aren’t always stocked.
- Zip-top bags: for marinating, leftovers and packing out food scraps when trash bins aren’t wildlife-secure.
Tech, Toiletries and the Small Stuff People Forget
Even the most comfortable safari tent or yurt usually comes with limited power, so a power bank is the single most useful piece of tech you can bring. Sites often have just one shared socket in a common area, and you will not want to spend your evening guarding an outlet. Pack a power bank of 10,000 mAh or more and it will typically recharge a phone several times over the course of a multi-day stay.
Toiletries deserve their own compact kit, especially if your accommodation has an outdoor or shared shower block. A biodegradable soap and a quick-dry towel make those communal trips far more pleasant, and they pack down small. Keep everything in a hanging toiletry bag if you can, since hooks are often the only storage in a shower block.
Rural sites frequently have weak or no mobile signal, so do not rely on your phone for everything. Download offline maps before you leave home, and bring a printed copy of your booking confirmation with the site’s directions. A screenshot of a confirmation email is useless when you have no bars and need to find the right track off a country road.
- Two charging cables, not one: cables are the most commonly forgotten item, and having a spare means a frayed or left-behind cord does not end your phone use for the trip.
- Blister plasters: even short walks on gravel paths or grass can cause hot spots, and a plaster on day one prevents a trip-ruining blister by day three.
- Insect repellent in a stick or wipe format: these travel more safely than aerosol cans and are easier to apply in a small tent without spraying everything.
- A zip pouch for the first-aid basics: bandages, antiseptic wipes, pain relievers and tweezers all in one place, so you are not digging through your bag at night.
- Sunscreen in a small tube: a full-size bottle is heavy and often leaks; a travel tube sized for a few days is enough since you will reapply from your bag anyway.
Your Glamping Trip Checklist, Ready to Go
Glamping packing lands in the sweet spot between a hotel stay and tent camping: you do not need a carload, but you also cannot assume everything is handled for you. One soft 40-60 liter bag covers a 3-4 day stay when you build it around layers for cool nights, a few sleep extras, simple kitchen additions and one zip pouch for tech and toiletries.
Before you zip it shut, let your booking dates shape the list. The May to October season is the main window in most temperate regions, but shoulder-season nights can still dip below 10°C (50°F), so weight your bag toward warmth if you are traveling early or late. Then confirm exactly what your site provides, and run through the section checklists above as a final sweep so nothing crucial stays behind. If this checklist helped, leave a comment or share the article with a fellow traveler.